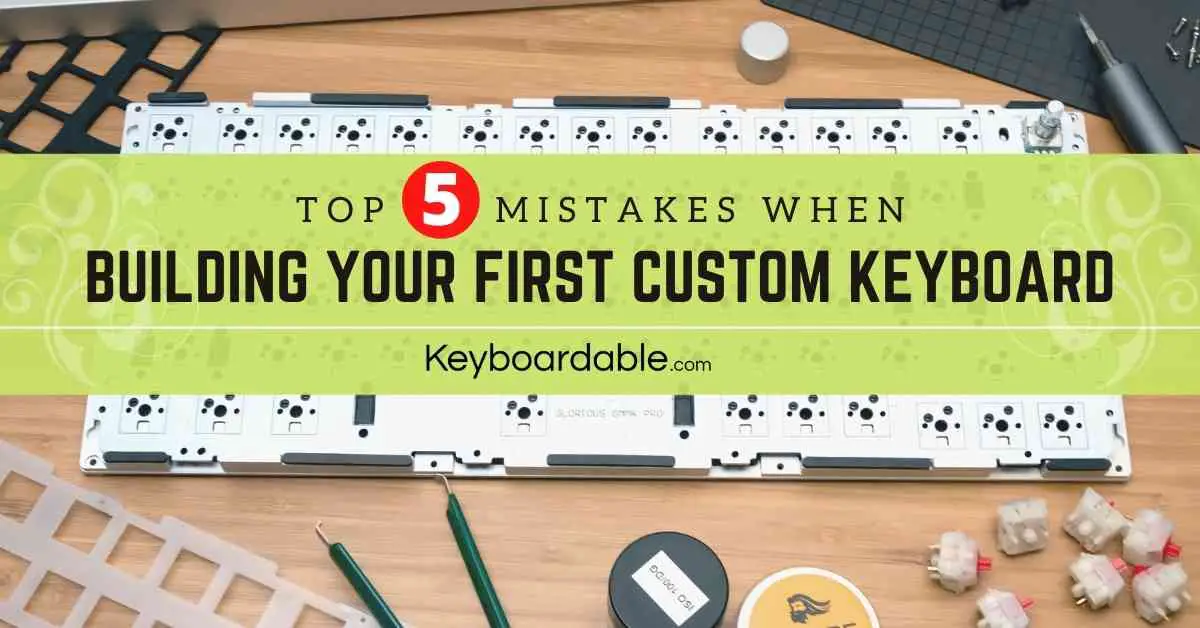
Top 5 Common Mistakes When Building Your First Custom Keyboard
Building your first keyboard might seem like a daunting task. There’s quite a lot of things to figure out before even getting started. But fear not! We’re here to help you avoid the most common mistakes by giving you five pieces of advice that will lead you in the right direction when building your own keyboard.
Mistake 1: Not Using a Barebones or Complete Kit
The biggest place beginners can go wrong is not using a kit when building their first keyboard. There are a lot of things to take into consideration when building your own keyboard, and using a kit can make it much easier. By using a kit, you won’t end up with parts that aren’t compatible, and will likely have very clear instructions on assembly and modification, so it should be easy to customize it to your preferences.
There are two types of kits: barebones and complete kits. Barebones kits come with fewer components than complete kits, as the name implies. With barebones kits, you’ll need to supply your own switches and stabilizers to complete the build. With a complete kit, these two components are included.
Mistake 2: Not Getting a Hotswappable PCB
When building your first keyboard, chances are there will be a lot of trial and error involved. Speaking from experience, you don’t want to have to desolder the switches every time you realize you need to make a tweak. That could take hours if not days.
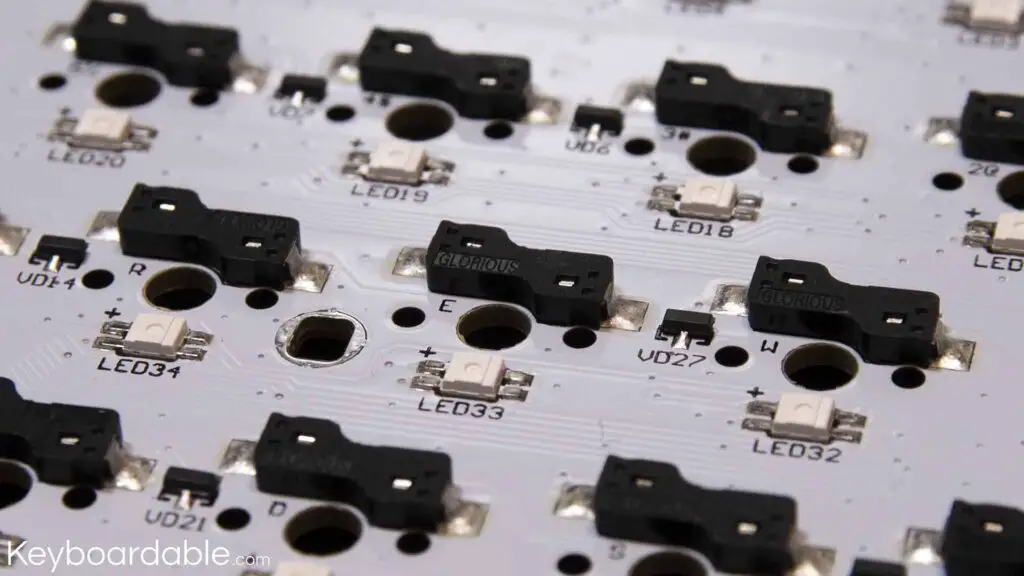
This mistake can be easily avoided by checking for hotswappability when choosing your PCB. A hotswappable PCB is a PCB that lets you easily swap out switches for different models or brands without having to desolder and resolder the switch housings.
Hotswappable PCB’s and kits with hotswappable PCB’s will be clearly labeled usually in the name of the item, so you’ll be able to see if it is before you order. If you already have a PCB and aren’t sure if you got a hotswappable one, you can check to see if it has hotswap sockets on it similar to the ones pictured below.
Mistake 3: Over-Lubing Your Switches
It’s exciting to lube your first switches and have them feel super smooth. However, one of the most common mistakes when building your first keyboard is over-lubing your switches. It’s easy to get caught up in the rhythm of painting the lube onto the switch stems, but go light on the lube. You don’t want to realize after you’ve assembled the board that all the switches are over-lubed and you need to clean them and re-lube them. I’ve been there and it’s not a great time.
When lubing your switches, a little goes a long way. If it starts to feel like there is a little resistance or drag when pressing the switch, you’ve added too much and your keystrokes will feel sluggish.
Mistake 4: Not Cleaning and Relubing the Stabilizers
When you get a new keyboard, especially if you get a kit, chances are the stabilizers might come “factory-lubed.” Usually, the factory lubing job is terrible. There’s always either so much that the keys won’t return, or so little that you’ll question what they define lubing as. Because of this, you’ll want to take the stabilizers off of the board, clean them off, and relube them.
To clean the stabilizers, disassemble them and wipe them down with rubbing alcohol. This will help dissolve the factory lubing and leave you with fresh, clean stabilizers that are ready to be relubed.
Mistake 5: Not Testing Before Assembling the Board
Even if you’re using a kit, it’s still important to test your switches and stabilizers before actually assembling the board. This will help avoid issues in the future that would be hard to fix after putting everything together.
Testing before building the board will help ensure that all of your switches are working and your stabilizers are properly assembled. It makes troubleshooting much easier if you find an issue early on rather than after you’ve spent hours assembling the board. With testing, it might only take a few minutes to fix instead of having to redo everything later.
Now that you know what to look out for when building a keyboard, you can avoid these common mistakes and get started on your first build with confidence. Building a keyboard is can be challenging at first, but it’s definitely worth the effort to have a custom keyboard tuned to your preferences!


![What Do Colors Mean for Mechanical Keyboards? [ANSWERED]](https://keyboardable.com/wp-content/uploads/2021/07/What-Do-Mechanical-Keyboard-Colors-Mean-768x402.jpg)
